Introduction
I’ve wanted a MAME cabinet pretty much every since I first discovered MAME online around 1999. The first few cabinets I saw were pretty basic but the idea of having all my favorites with fairly authentic controls was too much to pass up. It took me over 10 years before I found a cabinet, the time and the space to actually make it come true.
The Donor Cabinet
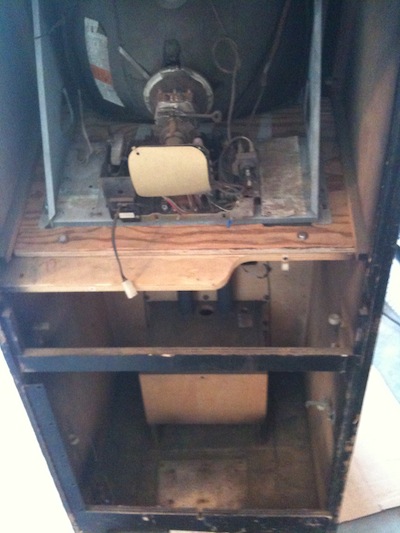
I found a gutted and beat up Stargate cabinet on Kijiji for $50 that seemed like it would make a decent starting point. I had mulled over building my own cabinet from scratch but none of the plans I found had the proper look and I didn’t want a massive cabinet anyway.
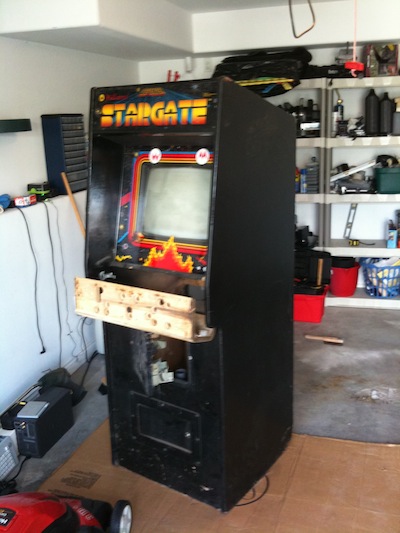
I was hesitant to MAME a perfectly good cabinet, but this one had been gutted of its controls and all electronics but its monitor. The previous owner had started a conversion into a Williams Multigame (as evidenced by the mismatched marquee and bezel) but gave up as they already had a better donor cabinet with the proper art work. I decided that any changes I would make to the cabinet would be easily reversable in case I ever wanted to bring this back to Stargate or I decided to get rid of the cabinet. I wasn’t out to destroy, just temporarily give it a new lease on life. There have been some pretty hideous MAME-ification of some classics in much better shape than this (Stargate specifically), I had no interest to follow in those foot steps.
Design
Since the Stargate cabinet is pretty small and originally a single player, I certainly couldn’t go any larger than two player. This was perfect though as I’m not a fan of realy overly crowded control panels that are massive. I wasnt really interested in trackball or spinner games either, so button density wasn’t a huge issue either. The panel also had to curve around the front as these William cabinets have a hinged panel that tilts down for access. The design ended up like this:

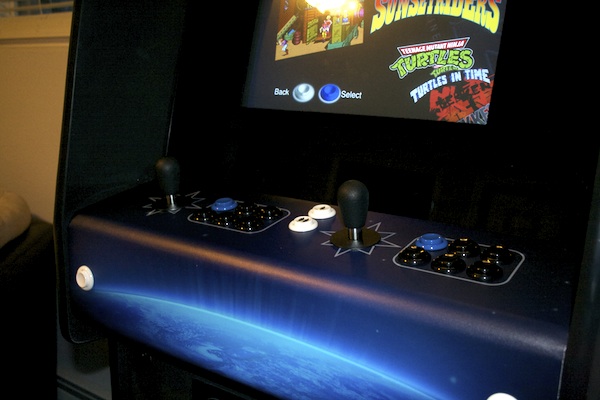
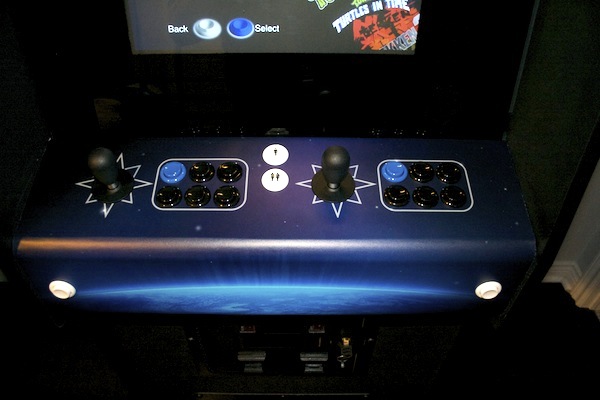
The final design had a simple two player layout with six buttons in a standard layout. I had thought about a more ergonomic Japanese style layout, but it just didn’t look as nice on the panel. I had the curve of the panel to deal with, but it ended up giving me a great place to put my credit buttons to save a bit of space. If you are interested in the original high resolution file it is located here. Use it as you please.
I had it printed by Game On Grafix on laminated vinyl. They really produce a nice product and it has a great texture and matte finish to it. Very happy with how the printing came out.
The Build
First steps were to tear the cabinet down as far as I could to be able to refinish it. Overall it was in pretty good shape with only a little bit of water damage at the bottom which is unfortunately pretty common. Given the amount of dirt and dust inside I’m not sure it had ever really been cleaned in its entire life though.
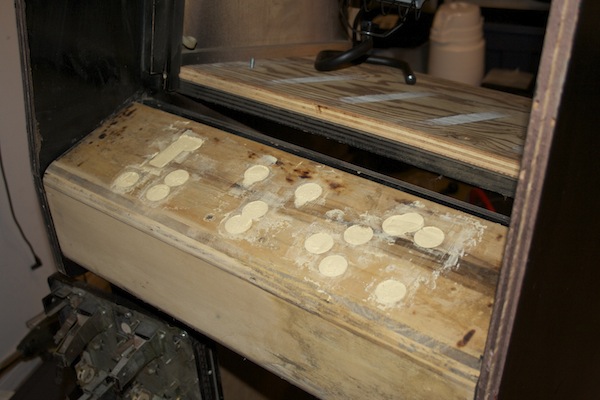
I filled the holes in the control panel with a very strong drillable filler. I probably should have just used bondo, but this ended up working pretty well. It’s a bit too easy to chip though while sanding so next time I think bondo is the better choice. This probably took the longest as it was just a lot of layers and sanding to try and get it right. In the end, I also covered the top with a piece of formica and smoothed in the curve of the edge to it to give a very very flat surface for the vinyl to adhere to.
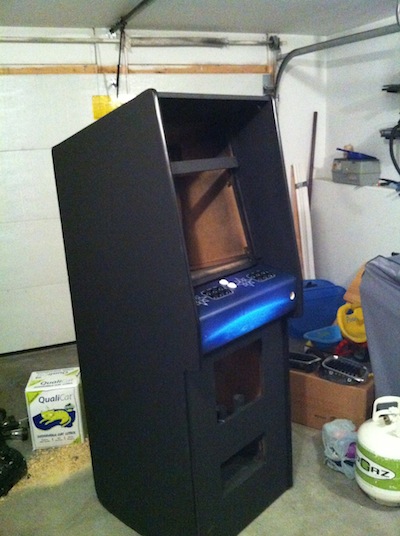
The main cabinet body wasn’t too bad to clean up. Mostly just small gouge filling and sanding off the remnants of the old art work and the horrible paint job that had been applied to it. I primed it with a roller and then sprayed three coats of matte black enamel which gave a pretty nice finish. New t-molding from T-Molding.com completed the look for the cabinet itself.
Final Product
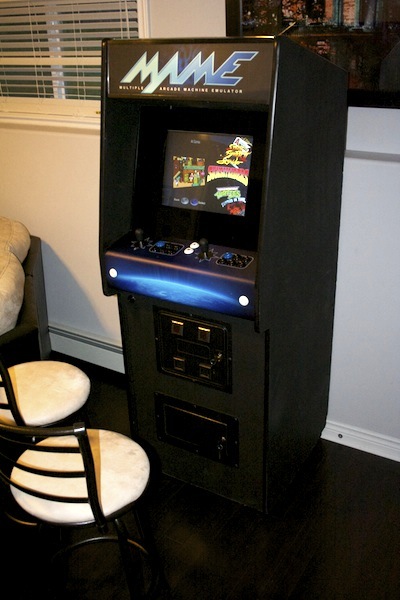
The final cabinet is running on a laptop inside (I probably will replace this later with a desktop, the laptop was just simple to setup and troubleshoot outside of the cabinet). It is running Peppermint OS Two (stripped down Ubuntu) with the Cabrio front end. I wrote a very simple script to grab screenshots and artwork from MameDB and generate the game list in the proper format.