Introduction
After having built my full size mame cabinet the previous year I had moved on to my virtual pinball machine. However, the purchase of a raspberry pi gave me some ideas on a small cabinet once I had MAME running on it.
Components
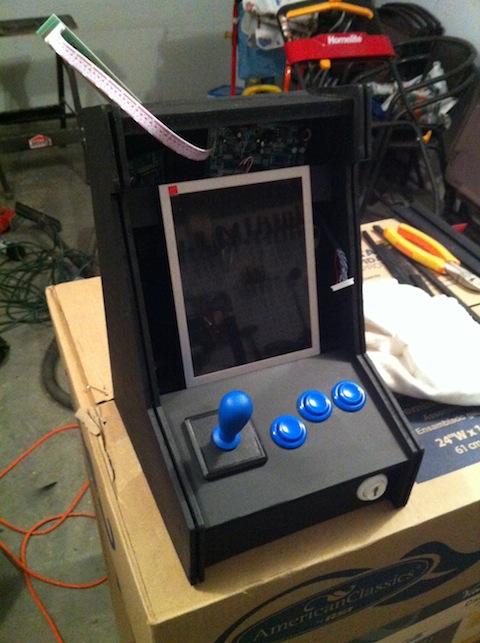
Screen
I had used a CRT in the fullsize cabinet as they really present arcade games better in my opinion. Unfortunately given the size of the cabinet here, an LCD was in order.
I found an 8″ LCD on eBay that came with a DVI input on it’s controller which was perfect. Unfortunately to use the cheaper VGA input controllers I would have had to buy a digital converter since the Pi only outputs HDMI.
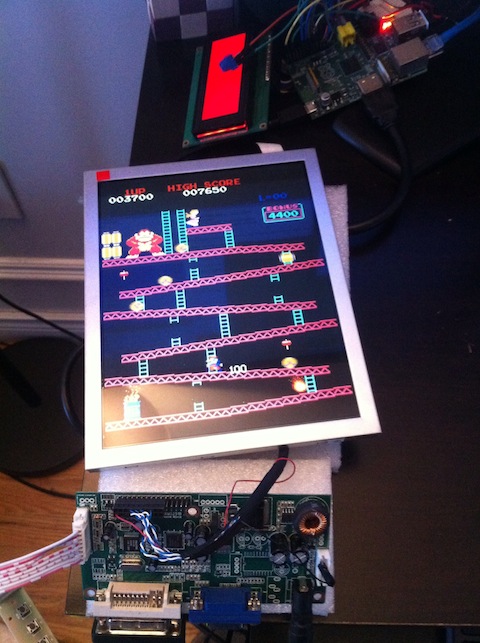
Computer
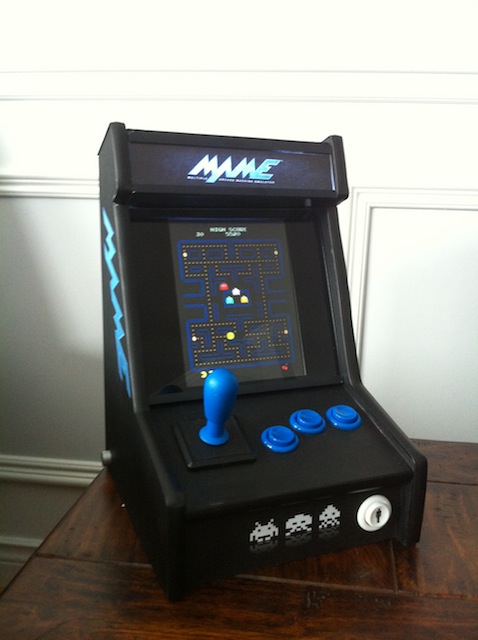
The Raspberry Pi takes care of this entire solution. It’s not all that speedy so my choices of which roms would be limited. I decided to run only vertical roms and mount the screen accordingly.
Power
The Pi requires 5v and the screen 12v. I picked up a small 100W 12V power supply on eBay and decided to just use a gutted car USB charger to provide the 5v for the Pi and speakers.
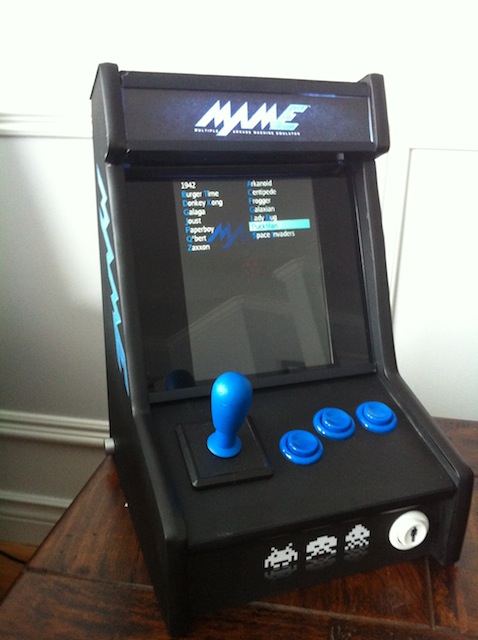
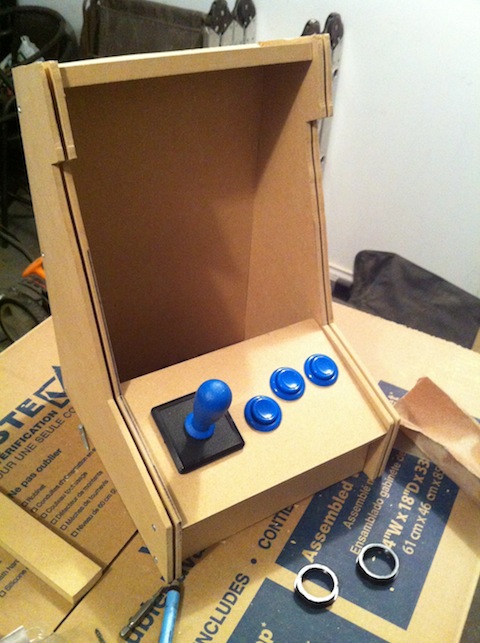
Controls
Given that I would only be playing simple vertical games I didn’t really need any more than 3 buttons and a 8 way stick. I picked up an iPac VE, E-Stik and buttons from Ultimarc as I had used most of these parts before on the fullsize cabinet.
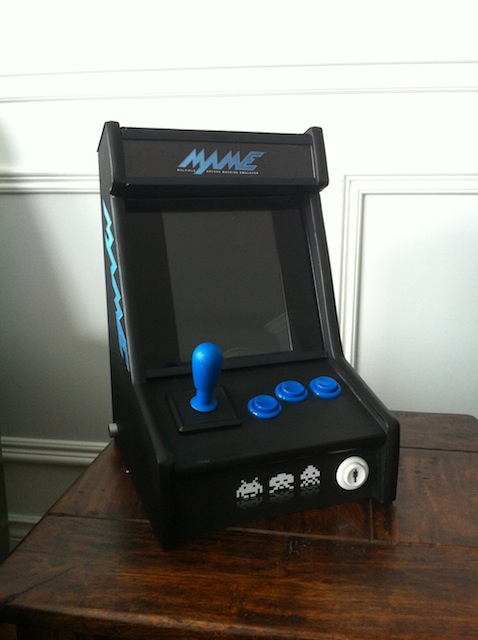
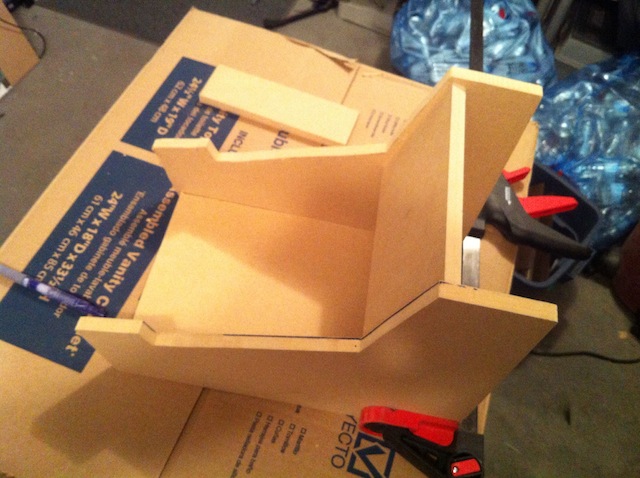
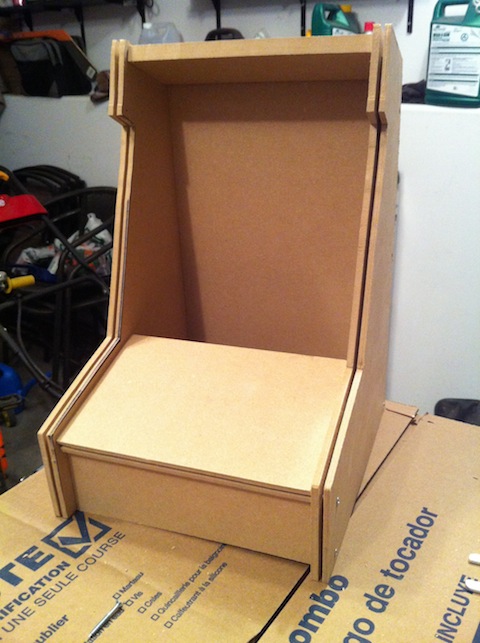
Cabinet
I planned the cabinet out in Sketchup to get an idea that everything would fit given the control setup. Once I knew things were fine I used some scrap 1/2″ MDF I had from previous projects and built it according to plans.
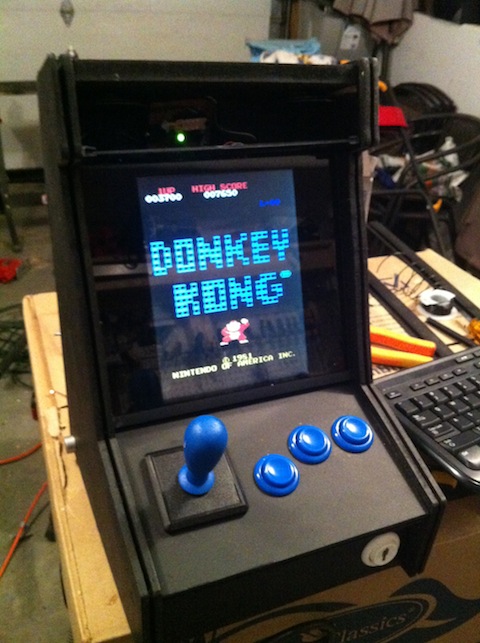
Final Product